
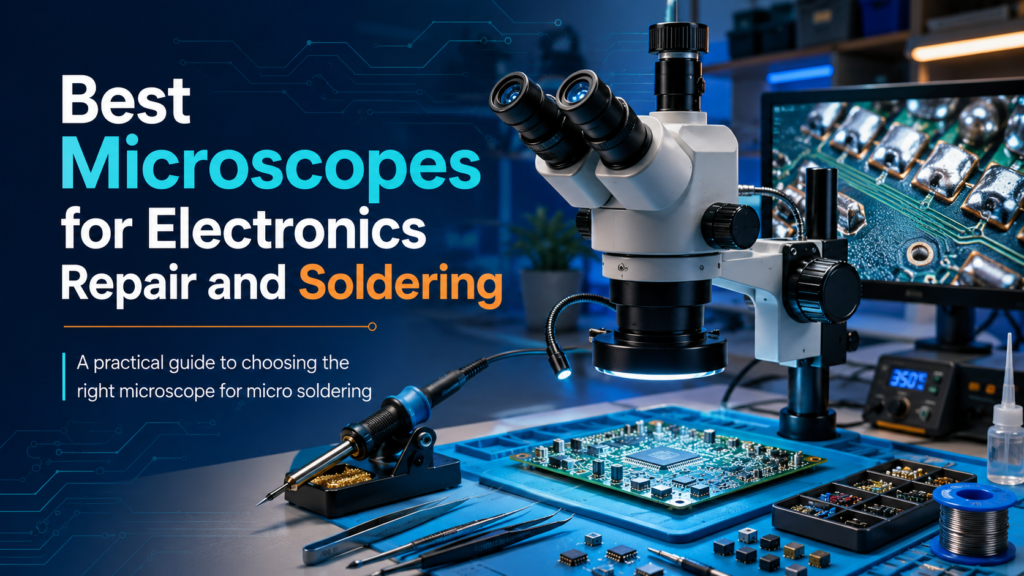
Choosing the right microscope for micro soldering is one of the most important decisions for anyone doing electronics repair, PCB rework, phone repair, laptop motherboard repair, console repair, or fine-pitch component soldering. As electronic components continue to become smaller and more densely packed, clear magnification is no longer optional. A reliable Soldering Microscope helps technicians inspect tiny pads, align components, identify defects, and complete cleaner repairs with greater confidence.
However, buying a microscope for soldering can be confusing. Some models are designed only for inspection, while others are suitable for active soldering and rework. You may come across digital microscopes, stereo microscopes, and Trinocular Microscopes, each with its own strengths. The best option depends on your budget, workspace, repair type, and comfort preferences.
This guide explains how to choose the best microscope for electronics repair and soldering, what features matter most, and which type of microscope is right for different users. It follows the practical buyer-guide approach used in the client’s reference material.
Why You Need a Microscope for Micro Soldering
Micro soldering involves working with extremely small components such as SMD resistors, capacitors, IC chips, charging ports, FPC connectors, jumper wires, and fine-pitch pads. These parts are often too small to inspect clearly with the naked eye. Without proper magnification, it becomes easy to create solder bridges, miss damaged pads, overheat components, or produce weak solder joints.
A good microscope helps you see exactly what you are doing. It improves precision, reduces mistakes, and allows you to inspect the board before and after repair. For professional technicians, it also improves consistency because each repair can be completed with better visibility and control.
A microscope is also important for comfort. Long repair sessions can strain your eyes, neck, shoulders, and back. The right setup allows you to work in a more natural position, especially if you use a monitor-based system or a well-adjusted optical microscope.
Main Types of Microscopes for Electronics Repair
The three most common microscope types for soldering are digital microscopes, stereo microscopes, and trinocular microscopes. Each can be useful, but they are not equal for every repair environment.
| Microscope Type | Best For | Main Advantage | Possible Limitation |
| Digital microscope | Beginners, documentation, screen viewing | Comfortable and easy to use | Some models may have video lag |
| Stereo microscope | Real-time soldering and depth perception | No lag and natural 3D view | Harder to record work |
| Trinocular Microscopes | Professional repair and training | Optical viewing plus camera support | Usually more expensive |
Digital Microscope for Micro Soldering
A Digital microscope uses a camera to display the magnified image on a monitor, computer, or built-in screen. Instead of looking through eyepieces, you look at a display while working. This makes digital microscopes popular with beginners and repair technicians who want a comfortable, screen-based setup.
One major benefit of a digital microscope is ergonomics. Since you can sit upright and look straight ahead, it reduces neck and eye strain during longer sessions. Digital microscopes are also useful for capturing photos and videos, which is helpful for customer reports, tutorials, documentation, or training.
A 4K Digital Microscope can be a strong choice if you want sharp image quality and easy viewing on a large screen. It is especially useful for electronics repair technicians who need to inspect small components, record repair work, or share the view with others.
However, resolution is not the only thing that matters. For soldering, frame rate is extremely important. A microscope with a high-resolution image but low frame rate may feel delayed when you move your hands or tools. For active soldering, a smooth 60 FPS display is usually more useful than a laggy high-resolution feed.
Stereo Microscope for Soldering
A stereo microscope uses two eyepieces to create a natural optical 3D view. Many experienced technicians prefer stereo microscopes because they provide excellent depth perception and zero video lag. This is useful when positioning tiny components, placing jumper wires, or working around delicate pads.
The main advantage of a stereo microscope is real-time optical performance. What you see through the eyepieces happens instantly, without delay. This makes tool control feel more natural.
The downside is that stereo microscopes are not always ideal for documentation. If you want to record your work, you usually need extra camera accessories or a different microscope type. They can also become uncomfortable during long sessions if the eyepieces and stand are not adjusted properly.
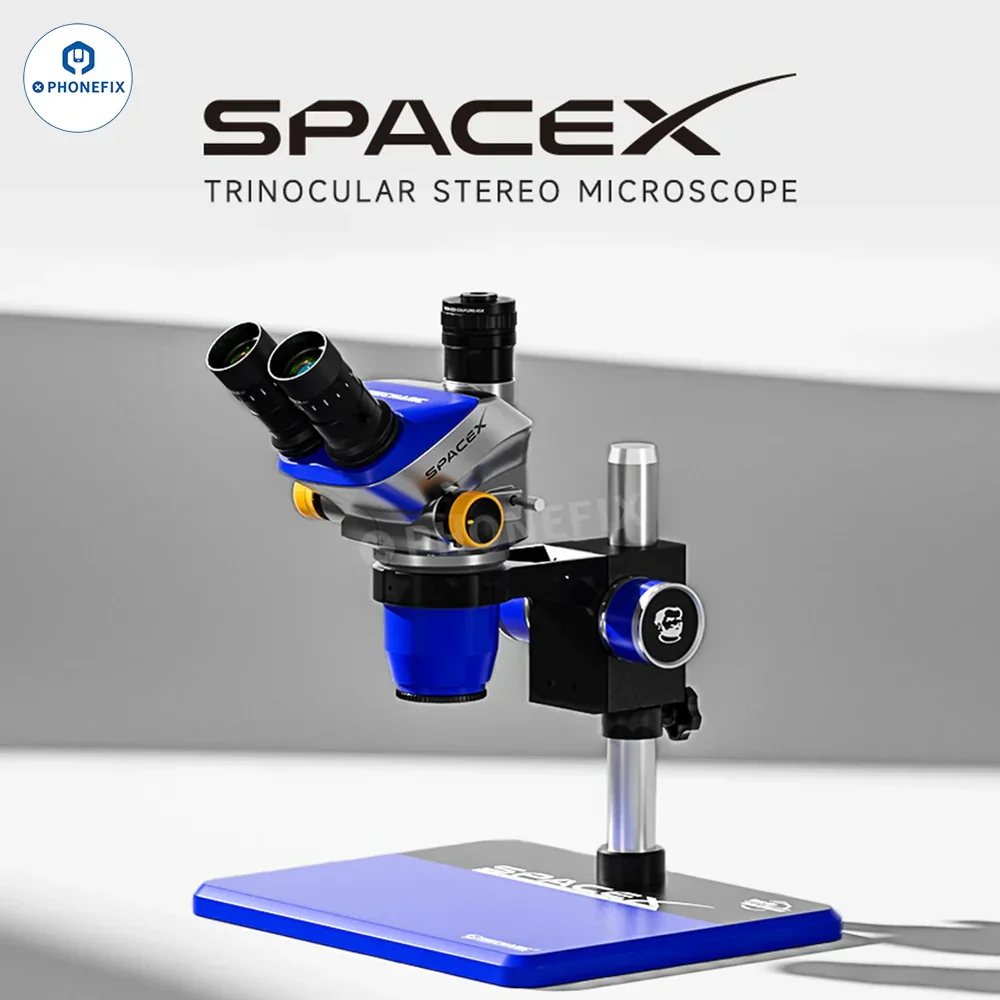
Trinocular Microscope for Professional Electronics Repair
A trinocular microscope combines the optical benefits of a stereo microscope with an additional camera port. This means you can look through the eyepieces while also connecting a camera for a monitor, recording, or training.
For professional electronics repair, Trinocular Microscopes are often one of the best long-term choices. They provide true depth perception, low-lag optical viewing, and the option to document repairs. This makes them suitable for repair shops, training centers, YouTube repair channels, and advanced technicians.
A Trinocular Micro-Soldering Microscope is especially useful when you need both precision and flexibility. You can perform detailed soldering through the eyepieces while showing the work on a screen for customers, students, or team members.
For users looking for a practical professional option, the YCS 71 Ultra 6.7X-45X Trinocular Microscope is worth considering because its magnification range fits many electronics repair tasks. The 6.7X–45X range gives enough flexibility for general board inspection, SMD soldering, fine-pitch work, and close inspection of solder joints.
Key Features to Consider Before Buying a Soldering Microscope
The best microscope for micro soldering is not simply the one with the highest magnification. For real soldering work, you need a balance of working distance, magnification, field of view, lighting, stability, and comfort.
1. Working Distance
Working distance is the space between the bottom of the microscope lens and the circuit board when the image is in focus. This is one of the most important features for soldering.
If the working distance is too short, you will not have enough room for your hands, soldering iron, tweezers, hot air tool, or PCB holder. A microscope may be good for inspection but frustrating for active soldering if it does not provide enough space.
For electronics repair, aim for around 100mm or more of working distance. More space is better if you work on larger boards or use hot air rework tools. Some microscopes can also use a 0.5X Barlow lens, which increases working distance and field of view while reducing magnification slightly.
2. Magnification Range
Many beginners assume that more magnification is always better, but this is not true for soldering. Too much magnification reduces your field of view and makes it harder to control your tools.
For most micro soldering tasks, a range around 7X to 45X is very practical. Lower magnification gives you a wider view of the board, while higher magnification helps inspect small joints, fine-pitch pins, and damaged pads.
For general PCB inspection, lower magnification is usually enough. For SMD soldering, moderate magnification is ideal. For fine-pitch ICs or defect inspection, higher magnification can be helpful. The goal is not maximum zoom. The goal is clear, comfortable, usable magnification.
3. Field of View
Field of view refers to how much of the board you can see at one time. As magnification increases, the field of view becomes smaller. This is why excessive magnification can make soldering harder.
A wider field of view helps you see the component you are working on as well as the surrounding area. This is important when following board traces, aligning connectors, or avoiding nearby components. For larger boards such as laptop motherboards or console boards, field of view becomes even more important.
4. Lighting Quality
Good lighting is essential for accurate soldering and inspection. Even a high-quality microscope will perform poorly if the board is not properly illuminated. Poor lighting can hide solder bridges, cracks, dull joints, corrosion, or lifted pads.
Look for adjustable LED lighting, such as a ring light or compatible external light source. Adjustable brightness is important because solder joints are reflective. Too much light can create glare, while too little light can make defects hard to see.
A good lighting setup should provide clear, even illumination without harsh shadows.
5. Stand Stability and Flexibility
The stand is often overlooked, but it has a major impact on the soldering experience. A weak or shaky stand can make the image unstable. A limited stand can also restrict the size of boards you can work on.
For small PCBs, a basic pillar stand may be acceptable. For larger boards and professional repair work, a boom stand or articulated arm is usually better. These stands allow you to move the microscope over different areas of the bench without constantly repositioning the board.
A stable stand helps maintain a sharp image and gives you more freedom while working.
6. Frame Rate and Camera Quality
If you choose a digital microscope or add a camera to a trinocular microscope, pay attention to both resolution and frame rate. A 4K image can look excellent, but if the video is delayed, soldering becomes difficult.
For real-time work, 60 FPS is usually preferred because it provides smoother motion. This makes your hand movements feel more natural on the screen. A lower frame rate may be acceptable for inspection, but it can feel frustrating during active soldering.
7. Ergonomics
Micro soldering often requires long periods of focus. Poor posture can lead to neck pain, back pain, shoulder tension, and eye fatigue. That is why ergonomics should be part of your buying decision.
Digital microscopes are often comfortable because they allow screen-based viewing. Stereo and trinocular microscopes can also be comfortable if adjusted correctly. The important thing is to choose a setup that lets you sit naturally, keep your hands steady, and work without unnecessary strain.
Quick Buying Checklist
Use this checklist before buying a microscope for electronics repair:
| Feature | Recommended Choice |
| Magnification | Around 7X–45X for most soldering work |
| Working distance | Around 100mm or more |
| Lighting | Adjustable LED ring light or external lighting |
| Stand | Stable boom stand or articulated arm for larger boards |
| Camera | 1080p or 4K with smooth frame rate |
| Frame rate | 60 FPS preferred for digital soldering |
| Comfort | Upright, ergonomic working position |
| Best professional option | Trinocular Micro-Soldering Microscope |
Digital Microscope vs. Trinocular Microscope: Which Should You Buy?
If you are a beginner or hobbyist, a Digital microscope may be the easiest option. It is simple to use, comfortable, and usually more affordable. A 4K Digital Microscope is a good choice if you want sharp viewing, easy recording, and a modern screen-based setup.
If you are a professional technician or run a repair shop, a trinocular microscope may be the better long-term investment. It gives you optical precision for active soldering and camera support for documentation. Trinocular Microscopes are also better for training, team environments, and advanced board-level repair.
If you do not need recording and only care about optical performance, a stereo microscope can also be a strong choice. However, for flexibility, a trinocular setup usually offers more value over time.
Common Mistakes to Avoid
One of the biggest mistakes beginners make is buying a microscope based only on advertised magnification. High magnification numbers may sound impressive, but they are not always useful for soldering. If the field of view is too narrow or the working distance is too short, the microscope will be difficult to use.
Another mistake is buying very cheap USB pen microscopes. These may work for simple inspection, but they usually lack proper working distance, stable stands, smooth video, and usable lighting for real soldering.
It is also important not to ignore the stand. A good microscope head on a poor stand can still create a frustrating experience. For professional repair, stability and flexibility matter just as much as image quality.
Finally, avoid choosing an inspection-only microscope if your goal is active soldering. A microscope for micro soldering must give you enough space to work under the lens comfortably.
Final Recommendation
The best microscope for micro soldering depends on your experience level, repair type, and budget. For beginners, a Digital microscope can be a practical starting point because it is easy to use and comfortable. For users who want high-resolution screen viewing and simple documentation, a 4K Digital Microscope is a strong option.
For professional electronics repair, Trinocular Microscopes are often the better investment. They provide optical viewing, depth perception, and camera support in one setup. A Trinocular Micro-Soldering Microscope is especially useful for repair shops, advanced technicians, and anyone who needs both precision and documentation.
If you want a practical microscope with a soldering-friendly magnification range, the YCS 71 Ultra 6.7X-45X Trinocular Microscope is a suitable option to consider. Its range is useful for general PCB inspection, SMD soldering, fine-pitch repair, and detailed solder joint inspection.
In the end, the best Soldering Microscope is not always the most expensive one. It is the microscope that gives you clear visibility, enough working distance, stable positioning, good lighting, and a comfortable working experience. With the right microscope, you can complete cleaner repairs, reduce mistakes, and work with greater confidence on even the smallest electronic components.